|
|
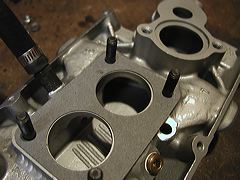
From just the right angle (which isn't quite shown here) you can see all the way from the inlet to each port. |
|
|
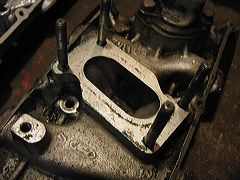
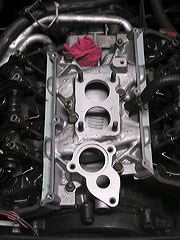
Here's the standard manifold. As you can see, the path to the ports is more obstructed by twists and turns. |
|
|
We'll need a few parts off the original manifold, including this water temperature sensor. It comes off with a 13mm wrench. |
|
|
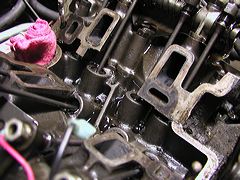
With the old manifold removed and the gasket sealing surfaces scraped, it's time to put on the new gasket and manifold. Jack Lawrence of MSS recommends using a very thin coating of silicone sealer on the gasket - the instructions explain how to apply it. |
|
|
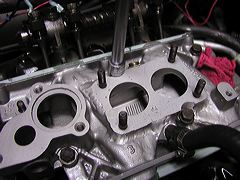
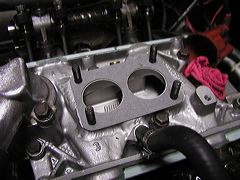
A thoughtful touch in the design of the MSS manifold is this pair of semi-circular cutouts in the inlet area. They provide clearance to use a standard socket to tighten the middle pair of manifold bolts. |
|
|
The instructions say to torque the manifold bolts, then wait and check it again after several hours - or even overnight. So that's what I'll do. |
|
|
Back in the garage the next night, I've checked the bolt torques again. Now I'll start hooking up the other connections to the manifold.
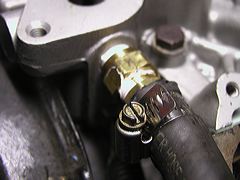
The water outlet to the heater is different from the one on my original manifold. That one had a two-way outlet on the top of the thermostat housing -- one leading to the bypass hose, the other to the heater. This manifold has only one outlet on the thermostat housing, leading to the bypass hose only. The heater line connects to a fitting in the side of the manifold, just below the thermostat well and above the coolant temperature sensor.
The heater-line fitting is a screw-in with an unusual thread size. After several hardware store visits' worth of trial and error, I identified it as a 3/8" FPT (flare pipe thread.) Using a couple of brass plumbing parts, I've assembled a new fitting and attached the heater hose. |
|
|
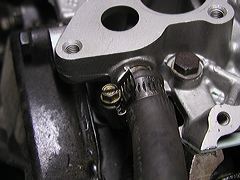
Then, after all that work, I found the original fitting under the end of my bench vise! It makes a tidier connection, so I've switched over to it. |
|
|
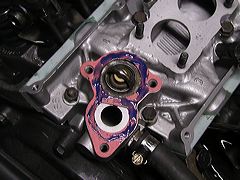
Now the thermostat goes in, and the gasket for its housing goes on. I've smeared some Hylomar sealer on it. |
|
|
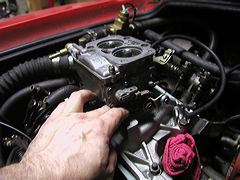
Before installing the carburetor, don't forget to put on its baseplate gasket! (Yes, this is the Voice of Experience speaking...) |
|
|
The mounting nut for the rear driver's side stud is REALLY hard to attach! There's not enough clearance under the carburetor to install the nut once the carb is pushed all the way down. So, it's necessary to hold the carburetor partway up, slip in the nut, then slide the carburetor down onto the stud as the nut is tightened. |
|
|
The other nuts aren't as hard to reach, and soon the carburetor is in place. |
|
|
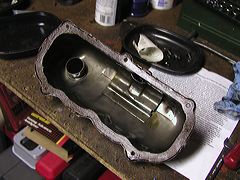
After installing new gaskets, the rocker-arm covers are ready to go back on. |
|
|
MSS includes the fittings and hoses needed to connect the new manifold to the existing PCV fittings. |
|
|
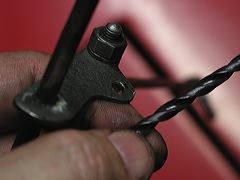
Now it's time to reinstall the throttle linkage. A last-minute addition to the instructions says to modify the hole in the existing throttle rod bellcrank (the part that rotates as you step on the accelerator pedal.) The link rod supplied with the kit is slightly thicker than the stock rod, so this hole needs to be reamed out to the size of a #10 drill. (If you don't own a set of numbered drills, I suppose you could ream it until it fits snugly but moves freely.) |