Transaxle autopsy 1-8 | 9-16 | 17-24 | 25-32 | 33-40 | 41-48 | 49-56 | 57-60
|
|
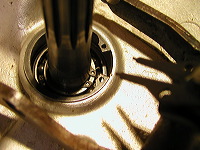
An internal snap ring secures the shaft into the housing. |
|
|
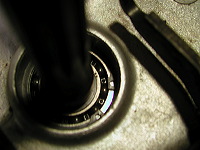
Special snap-ring pliers make it much easier to fit the ring down into the housing to secure the shaft. |
|
|
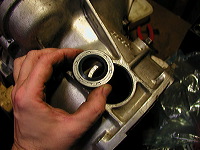
Now I can put the seal down onto the shaft. |
|
|
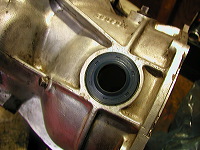
SAAB made a special tool for driving the seal onto the shaft. But I don't have that tool either (although West of Sweden SAAB has had a reproduction version made.) I just used a piece of wood as a drift and tapped the seal into place. |
|
|
The side shafts also have seals, and these seals also can develop leaks. So again, it's a good precaution to replace them when the gearbox is out. |
|
|
Once again, I just used a piece of wood as a drift and tapped the seal into place. It should fit flush with the case. |
|
|
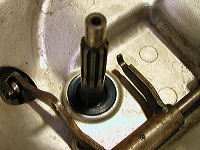
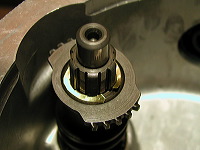
Now it's back to the other end of the input shaft, to get it ready to fit into the freewheel hub. First, the freewheel locking sleeve needs to be locked onto its shaft with a snap ring. I wanted it to fit snugly, so I cut a thin brass shim as a spacer. |
|
|
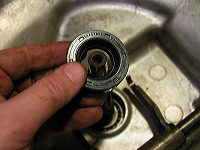
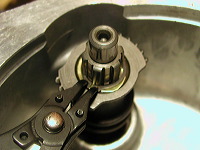
External snap-ring pliers help me fit the ring over the shaft. |